
Assembly instructions
How to assemble your wooden deer head
No glue, no tools: the pieces simply slot together.
🎁 Have you just received a 3D Mountain creation? Welcome! Follow the guide: your deer will be on the wall in a quarter of an hour.
🌍 Choose your language:
 English (UK)


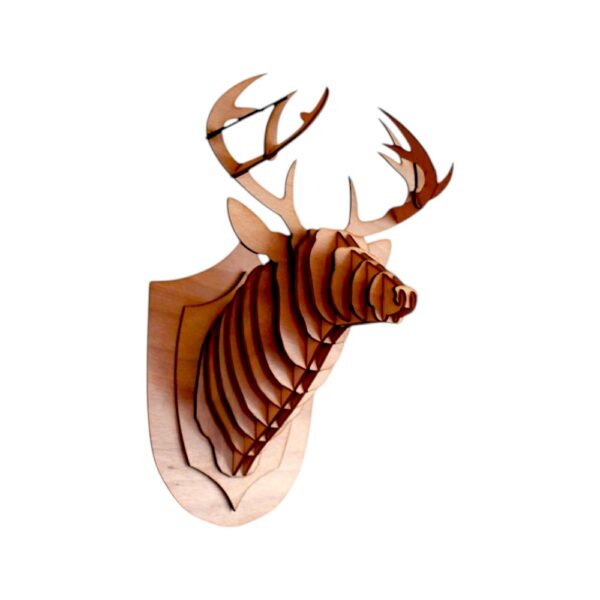
- 3 mm plywood · laser cut
- About 15 minutes
- Ages 14+ · best done as a pair
- Made in France
-
The three base pieces
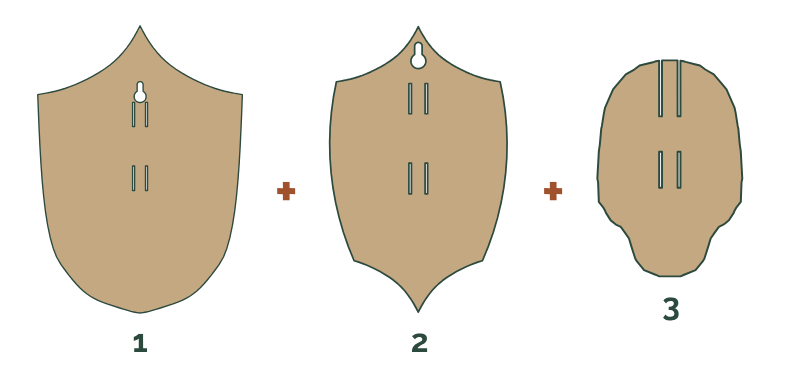
Start by gathering the three pieces of the base (pieces 1, 2 and 3): stack them on top of each other, lining up their slots.
-
The two profile pieces
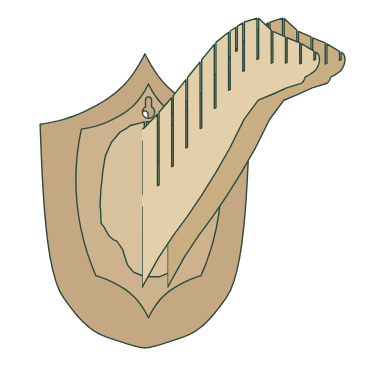
Next, insert the two profile pieces (the only two without a number) into the slots of the base, at right angles to it.
-
The numbered pieces
Slot in the remaining pieces in numerical order, from back to front.
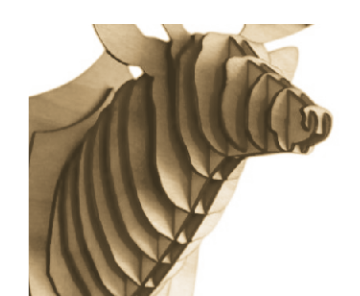
back → front -
The antlers
To finish, slot the antlers into their notches at the top of the head.
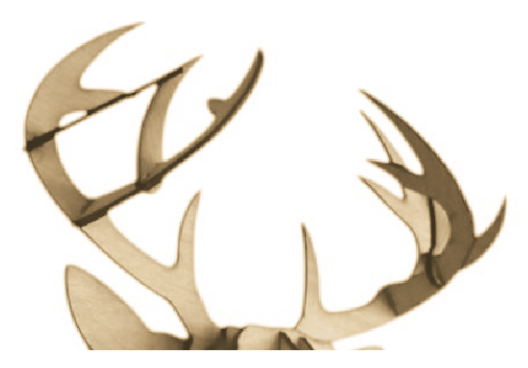
-
Hanging
Hang your deer on a nail or a screw using the keyhole-shaped hanging slot (circled opposite).
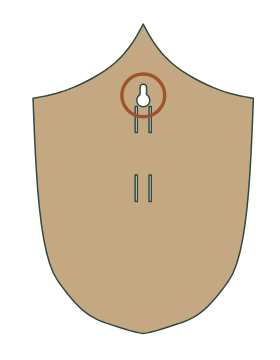
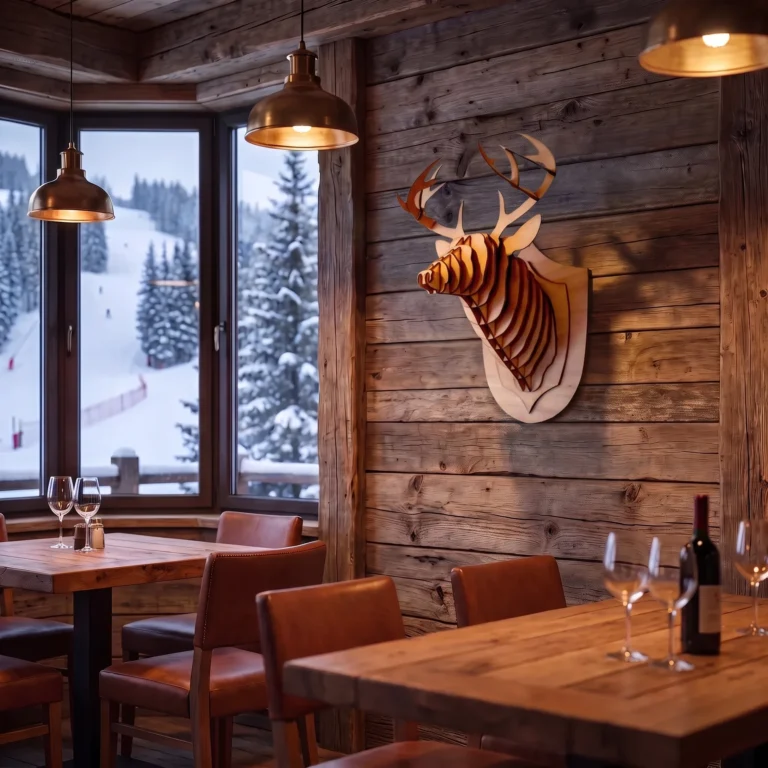
And here's the finished result!
Make it your own: the wood can be painted directly (wood stain, paint or paper decoupage).
Wood. A story. A unique object.
Download the instructions (PDF)Share your build
Has your deer found its wall? Show us by tagging @3d.mountain on Instagram: we reshare our favourite photos.
Follow @3d.mountainIdeas and new arrivals
New creations, decor and gift ideas, subscriber-only offers: a letter now and then, never more.
Thank you! You're subscribed. Something went wrong, please try again. Please check your email address.Want to give the same one to someone close? Our wooden deer head comes in 40 cm and in a large 62 cm format.
Want to grow the family? Deer, caribou, chamois, wild boar… Discover all our wooden animal heads.
A missing piece or a question about assembly? Contact us, we'll get back to you quickly.
Cut in our workshop in Bourg-d'Oisans (French Alps) · 3d-mountain.com